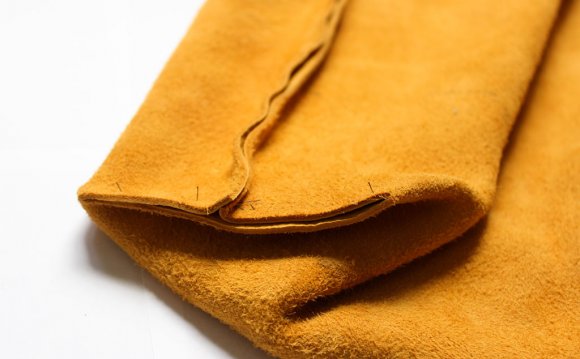
Step 1: Tape four pieces of printer paper together to form a large rectangle. This will be your pattern. Place the edge of your pattern on the fold of your fabric and outline with a marking pen. Cut two 3"x3" squares on each of the corners on the fold. This is what will create the bottom of the bag.
Step 2: Use an exacto blade, or scissors if you're brave, to cut the outlined piece. This is your bag.
Step 3: I used painter's tape to mark the straps, I simply cut along the edge of the painter's tape which made for perfectly straight edges. Cut two straps on the fold so that you really end up with four strap pieces.
Step 4: Since the leather is pretty slippery, use leather glue to glue each strap together. For one full strap, you will use two pieces from what you've cut. Glue the wrong sides together, then sew along the edges. I used a pretty large margin, and then used scissors to trim the straps after I sewed them.


